

How to Brew Loose-Leaf Tea Without a Teapot: Five Everyday Methods
Loose-leaf tea has a reputation for needing gear. Browse any tea shop and you'll see pots, gaiwans, scales and pouring stands, and it's easy to conclude that the leaves are waiting for equipment you don't own. They aren't. A mug, a spoon and something to catch the leaves are enough to make a better cup than most tea bags will give you — the leaves are bigger, they unfurl properly, and you decide how strong the brew gets.
What follows are five ways to brew loose-leaf tea using tools that are probably already in your kitchen. None of them require a teapot, and all of them are forgiving enough for a weekday morning when you're not paying close attention.
Two Numbers Worth Knowing First
Every method below depends on the same two variables: how much leaf, and how hot the water. Leaf amount is easiest by volume — about one rounded teaspoon of most teas per 200–250 ml, which is a standard mug. Dense teas such as rolled oolongs and gunpowder green need less; fluffy ones like white peony need more. If you keep a kitchen scale nearby, 2–3 grams per mug is a reliable starting point.
Temperature matters more than people expect. Boiling water turns a delicate green tea bitter and sharp, while lukewarm water leaves a black tea thin and sour. A rough guide:
- Green tea: 70–80°C (160–175°F), 1–3 minutes
- White tea: 80–85°C (175–185°F), 2–4 minutes
- Oolong: 85–95°C (185–205°F), 2–4 minutes
- Black tea: 95–100°C (200–212°F), 3–5 minutes
- Herbal infusions: 95–100°C, 5–7 minutes
No thermometer? Boil the kettle, pour the water into a cold mug, and let it stand for a minute or two before adding green or white tea. That drops the temperature enough to be safe.
1. The Mug and a Fine-Mesh Strainer
The simplest method, and the one most people should learn first. Put the leaves straight into your mug, pour water over them, and wait. When the time is up, set a fine-mesh strainer over a second mug or a small jug and pour the tea through it.
Why it beats a tea ball
Loose leaves need room to expand. Floating free in a mug with no cage around them, they open fully and give up their flavor in a couple of minutes instead of five.
The one thing to get right
Timing. With no basket to lift out, the leaves keep steeping until you pour. Set a timer for your first few attempts; most teas turn harsh somewhere past the five-minute mark. A proper fine-mesh strainer is worth seeking out, too — the holes in a coarse colander are far too wide, and you'll end up with leaves in your teeth.
2. The French Press
If you own a French press for coffee, you already own an excellent tea brewer. The plunger holds the leaves down and stops the steeping almost as cleanly as lifting a basket out of a pot.
- Add leaf to the empty press — roughly one teaspoon per 250 ml, a little more if you like it strong.
- Pour in water at the right temperature and stir once so every leaf is wet.
- Set the plunger on top but don't press it yet. Let it rest just above the water.
- Steep for the time your tea needs, then press slowly and pour.
Two warnings. Rinse the press thoroughly if it has been used for coffee, because old coffee oils will find their way into a delicate green tea and flatten it. And don't leave tea sitting in the press after the first cup — it keeps getting stronger. If you want a second cup, pour the whole brew into a mug or thermos and let the leaves stay behind.
3. A Tea Ball or Infuser Basket
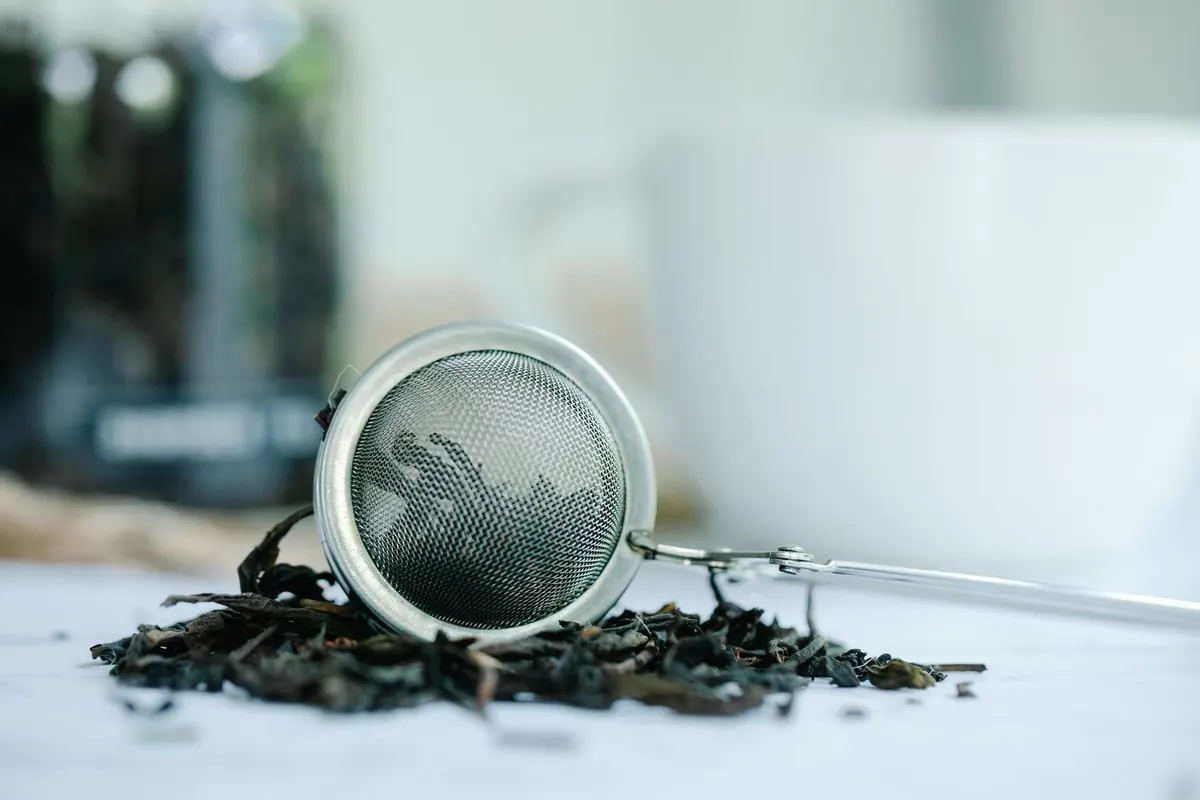
Not quite as good as free leaves, but far more convenient, and the difference is smaller than tea purists claim — provided you buy one that's big enough. Many tea balls are the size of a walnut, which forces the leaves into a tight clump and halves the flavor you get out of them.
Look for:
- A basket or ball at least 4–5 cm across, ideally wider
- Mesh fine enough to hold small leaf pieces, with plenty of open area
- A lid, or a shape that lets water circulate through rather than around the leaves
Fill it no more than half full. An overpacked infuser makes a weak, slightly sour cup, and loose-leaf tea gets blamed for it.
4. The Two-Mug Method, No Strainer Required
Sometimes there's no strainer, no press and no infuser. You can still brew loose tea with two mugs and a steady hand.
Brew in the first mug as usual. When the time is up, hold the second mug close and pour slowly, stopping just before the leaves and the last slosh of liquid escape. Most leaves settle at the bottom, especially the larger ones, so a careful pour leaves them behind. Top up with hot water if the cup comes up short.
It's messy and imprecise, and it works. This is roughly how tea was made for centuries before anyone worried about equipment, and it's a useful reminder that the gear is not the point.
5. Cold Brew in a Jar
For summer, or for anyone who finds hot tea too bitter first thing in the morning. Cold water extracts different compounds, so you get less astringency and more sweetness, and it is nearly impossible to oversteep.
- Add 4–5 teaspoons of leaf to a one-litre jar — more for light teas, less for strong blacks
- Fill with cold filtered water, cover, and refrigerate
- Leave it 6–12 hours, then strain through a fine-mesh strainer or a coffee filter
- Keeps for three to four days in the fridge
Green tea and oolong are especially good this way. Black tea works too, though it tastes smoother and less brisk than a hot brew. Drink it over ice, or top it up with hot water on a cold afternoon.
A Few Habits That Matter More Than Gear
Whichever method you choose, three things separate a good cup from a forgettable one. Use fresh water, because tea is mostly water and stale or heavily mineral water tastes like exactly that. Leave room in the vessel so the leaves can move. And taste as you go: the temperatures and times above are starting points, not rules, and your own tongue is the only instrument that really counts.
Start with the mug and the strainer. Once you like what you're drinking, everything else is optional.
Photo: Anna Pou / Pexels